Features
Features
A quick overview of the major features of the plugin are listed below, if you want an indepth explanation of a feature, please visit the World Map Setup tab.
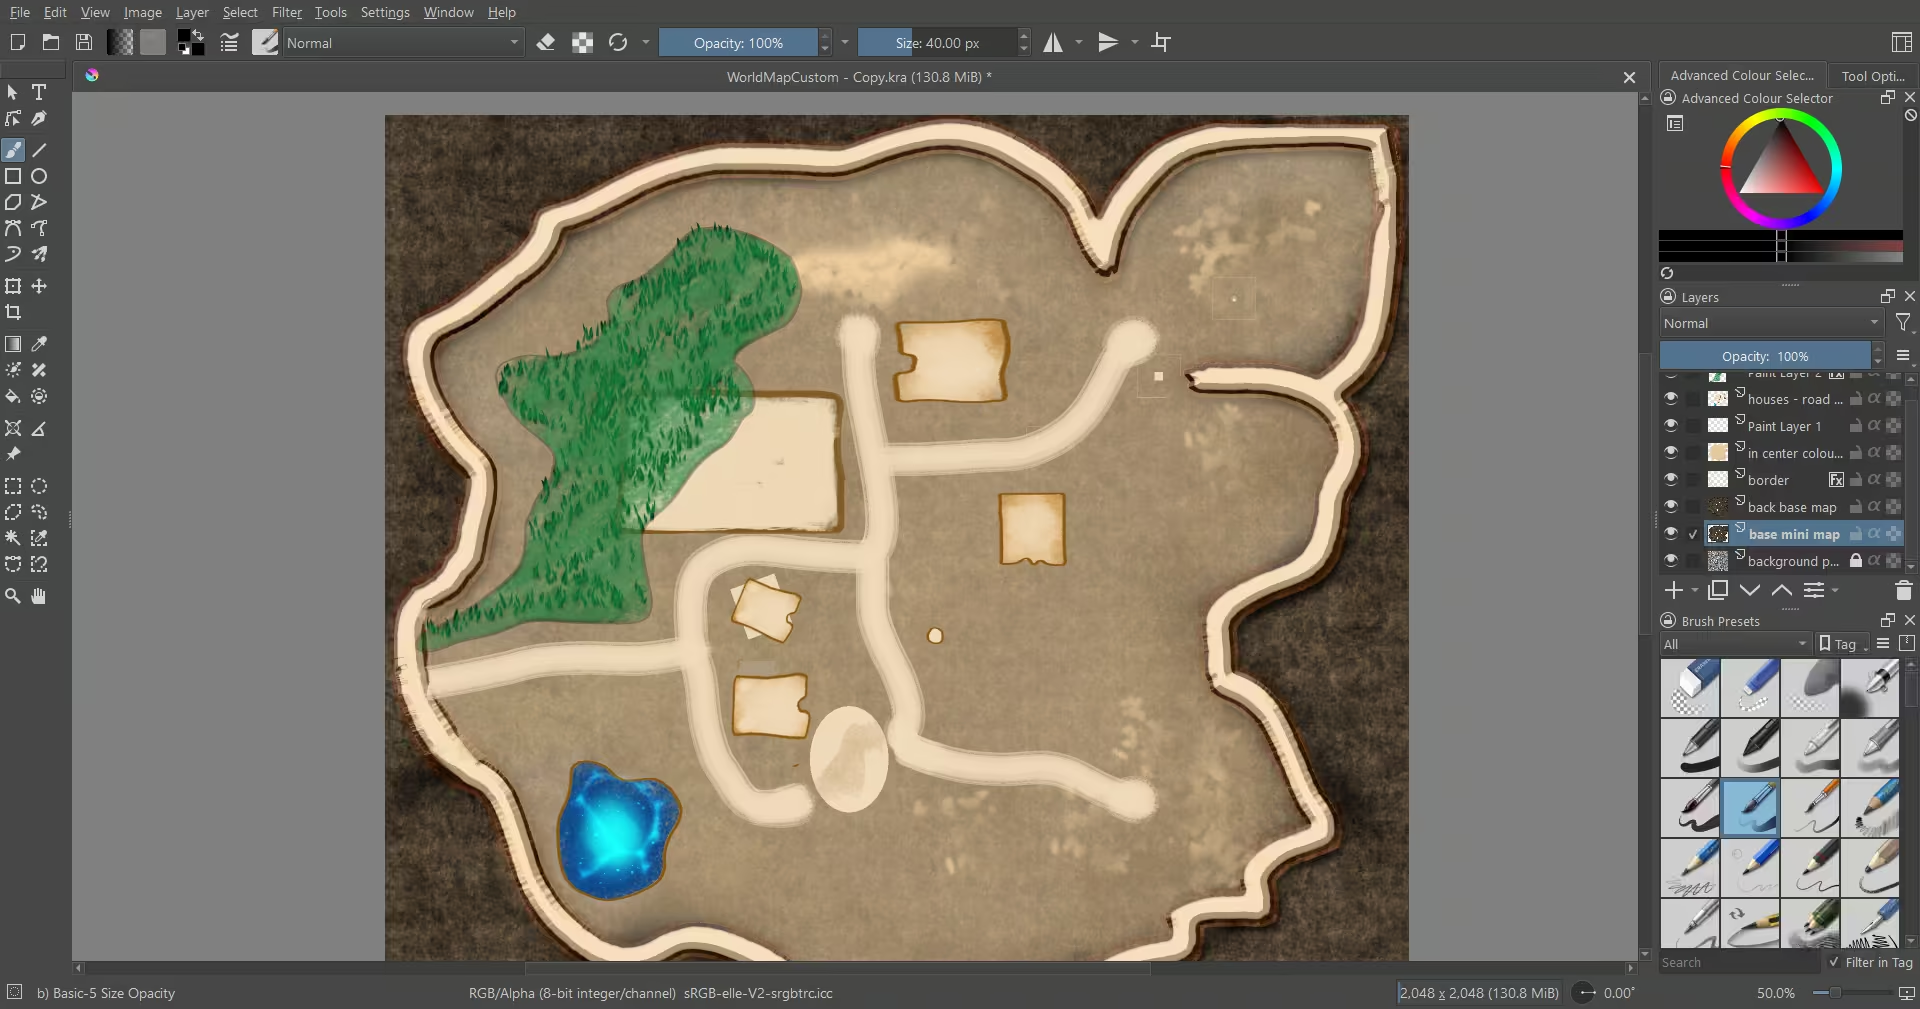
Custom Texture World Map
Just drag and drop the camera tool "BP_CaptureMapTool" on your level map, adjust it position and
capture the image. You can then modify the texture map(using krita or photoshop) to your need and apply them to the
world map widget.
Fog of War
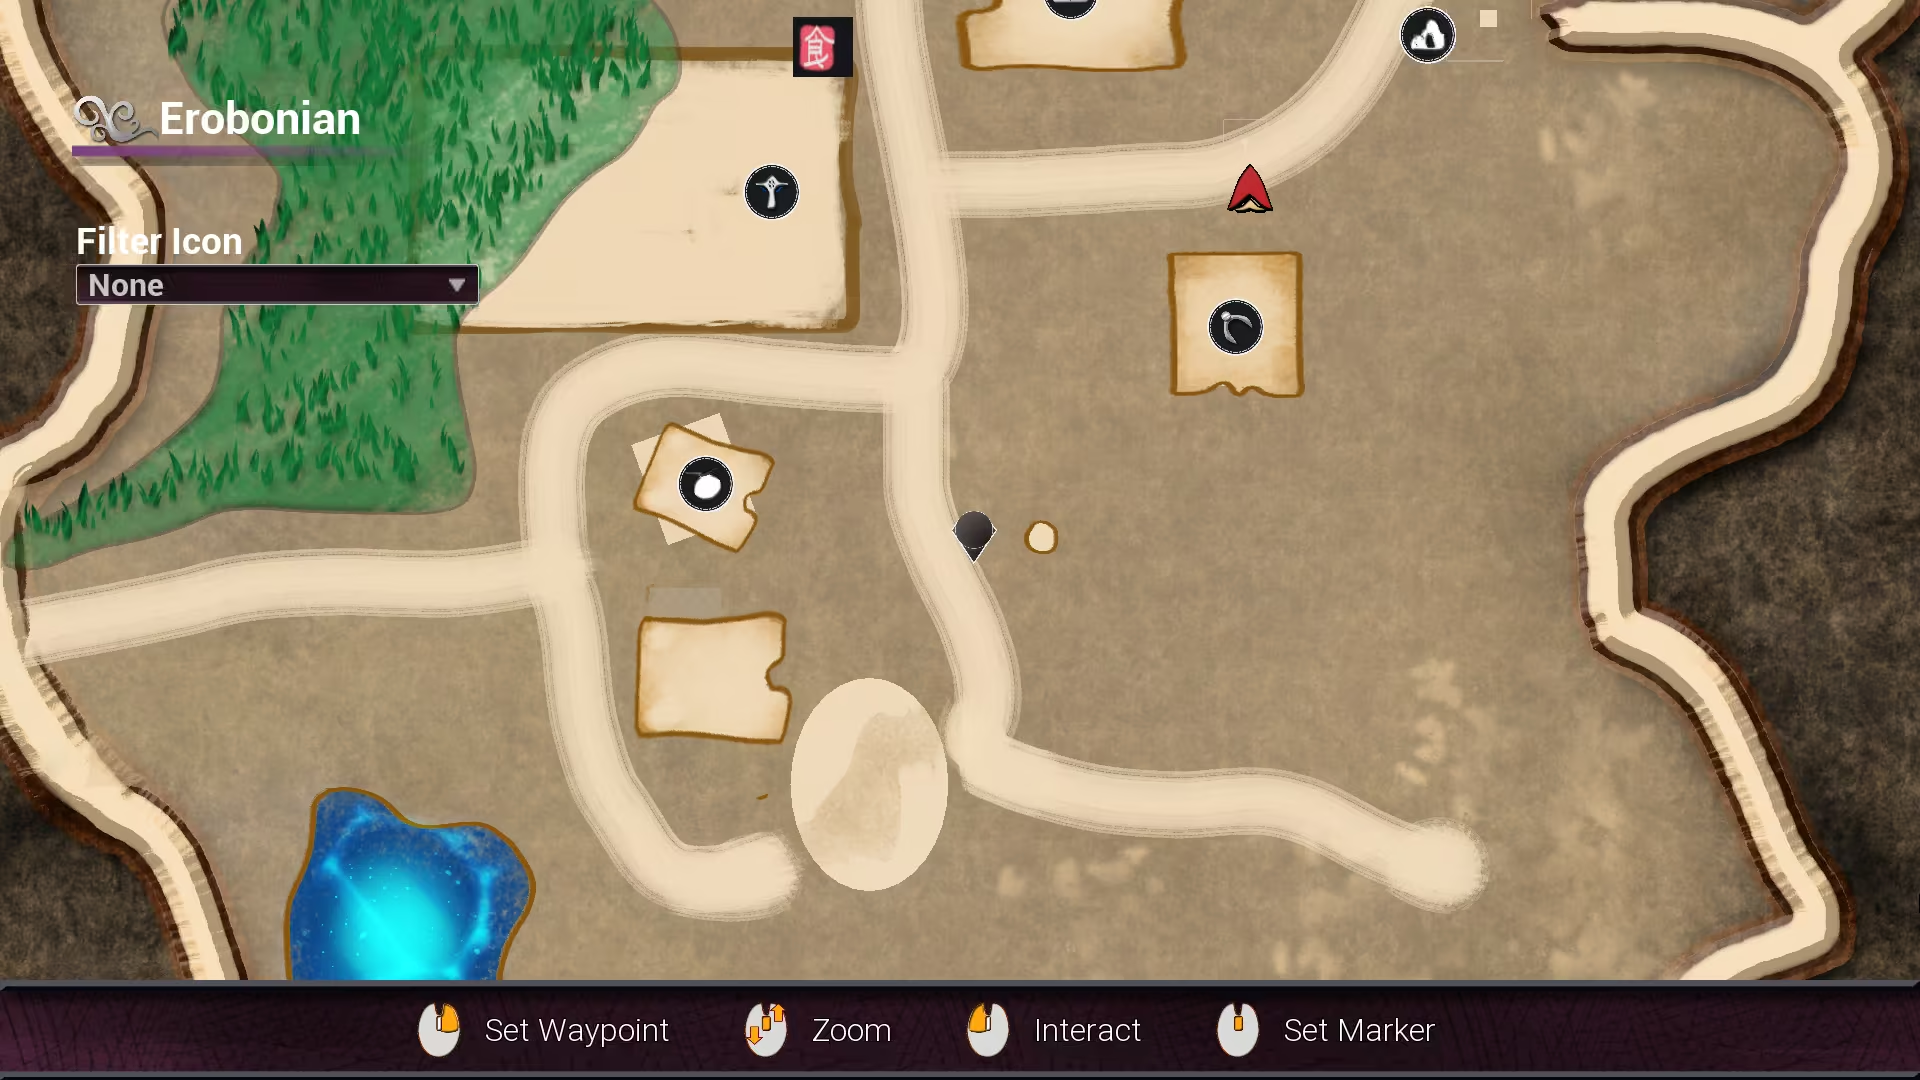
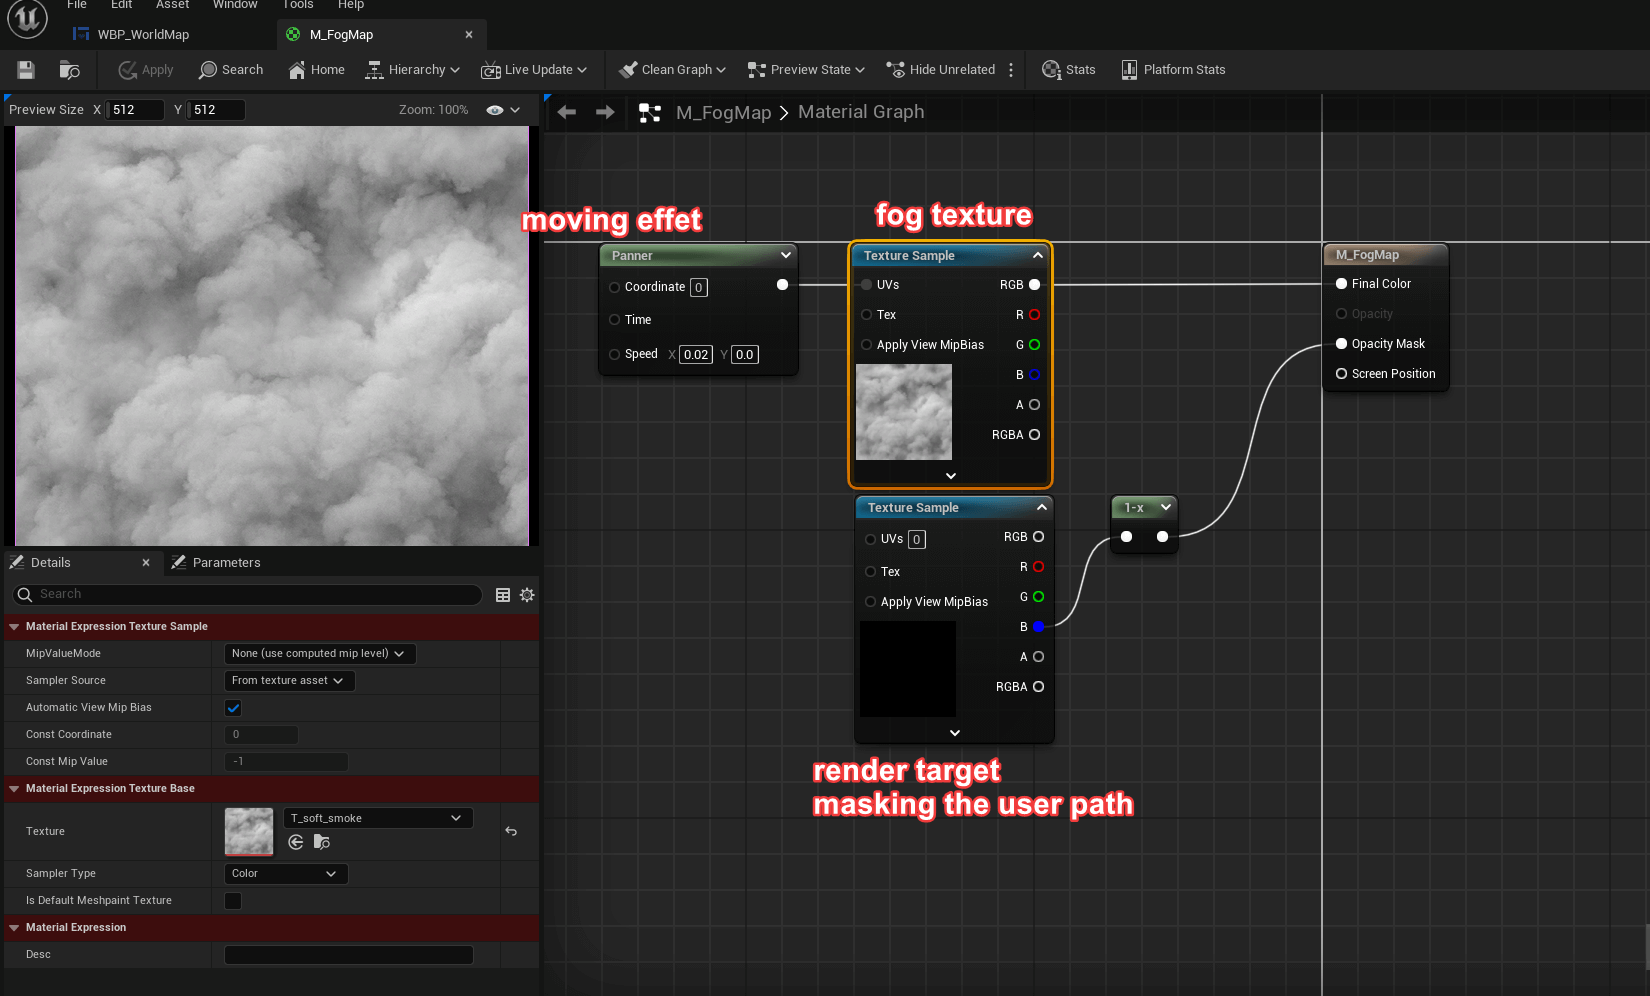
Initially, the map is shrouded in fog, representing areas unseen by the player. As the player move around the map, the fog clears, revealing the terrain and objects beneath. The fog render texture is saved as array bytes for user progression in blueprint, therefore there no need to export/import a .png file in/from the user project folder.
Actor Component Icon
Simply add the actor component icon "BP_WidgetComponentIcon" to any placed actors on
your level map to set up the icon on the world map or mini map.
Save & Load icon data including custom marker via game instance.
Pan & Zoom
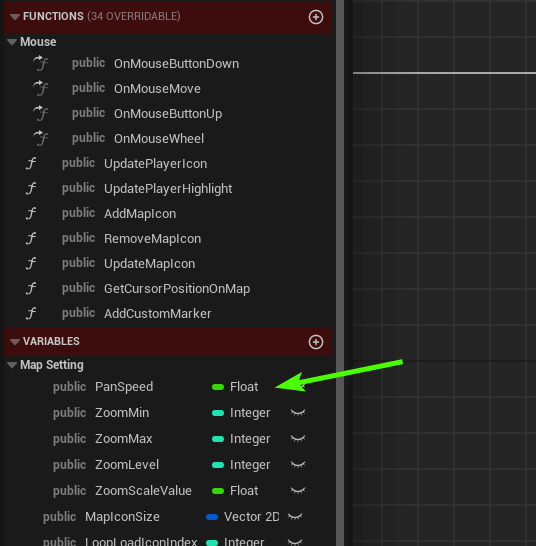
Navigate through the widget map using mouse pan and zoom, the map will clamp on its boundary.
Filter Icon
Filter icon by icon category(customised enum from their BP_WidgetComponentIcon).

Multiplayer
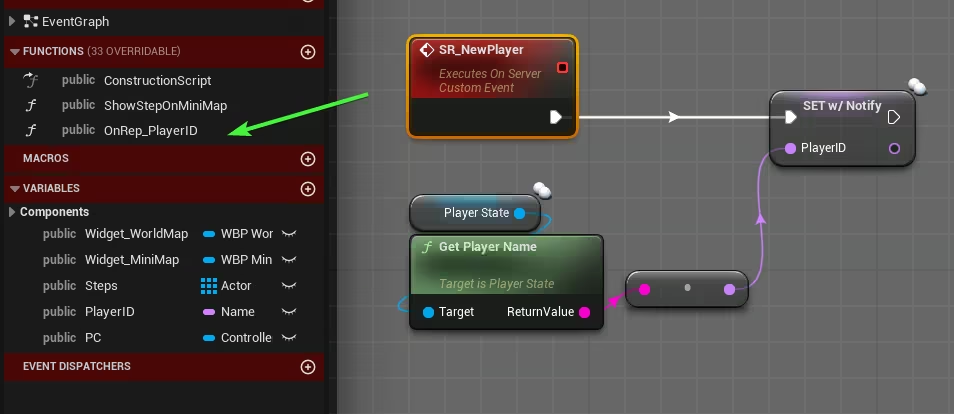
New join player will be assigned a new icon over their world map respectively using the RPC function below. Assign player icon can be customised via the game mode and player data through player state.
Custom Marker
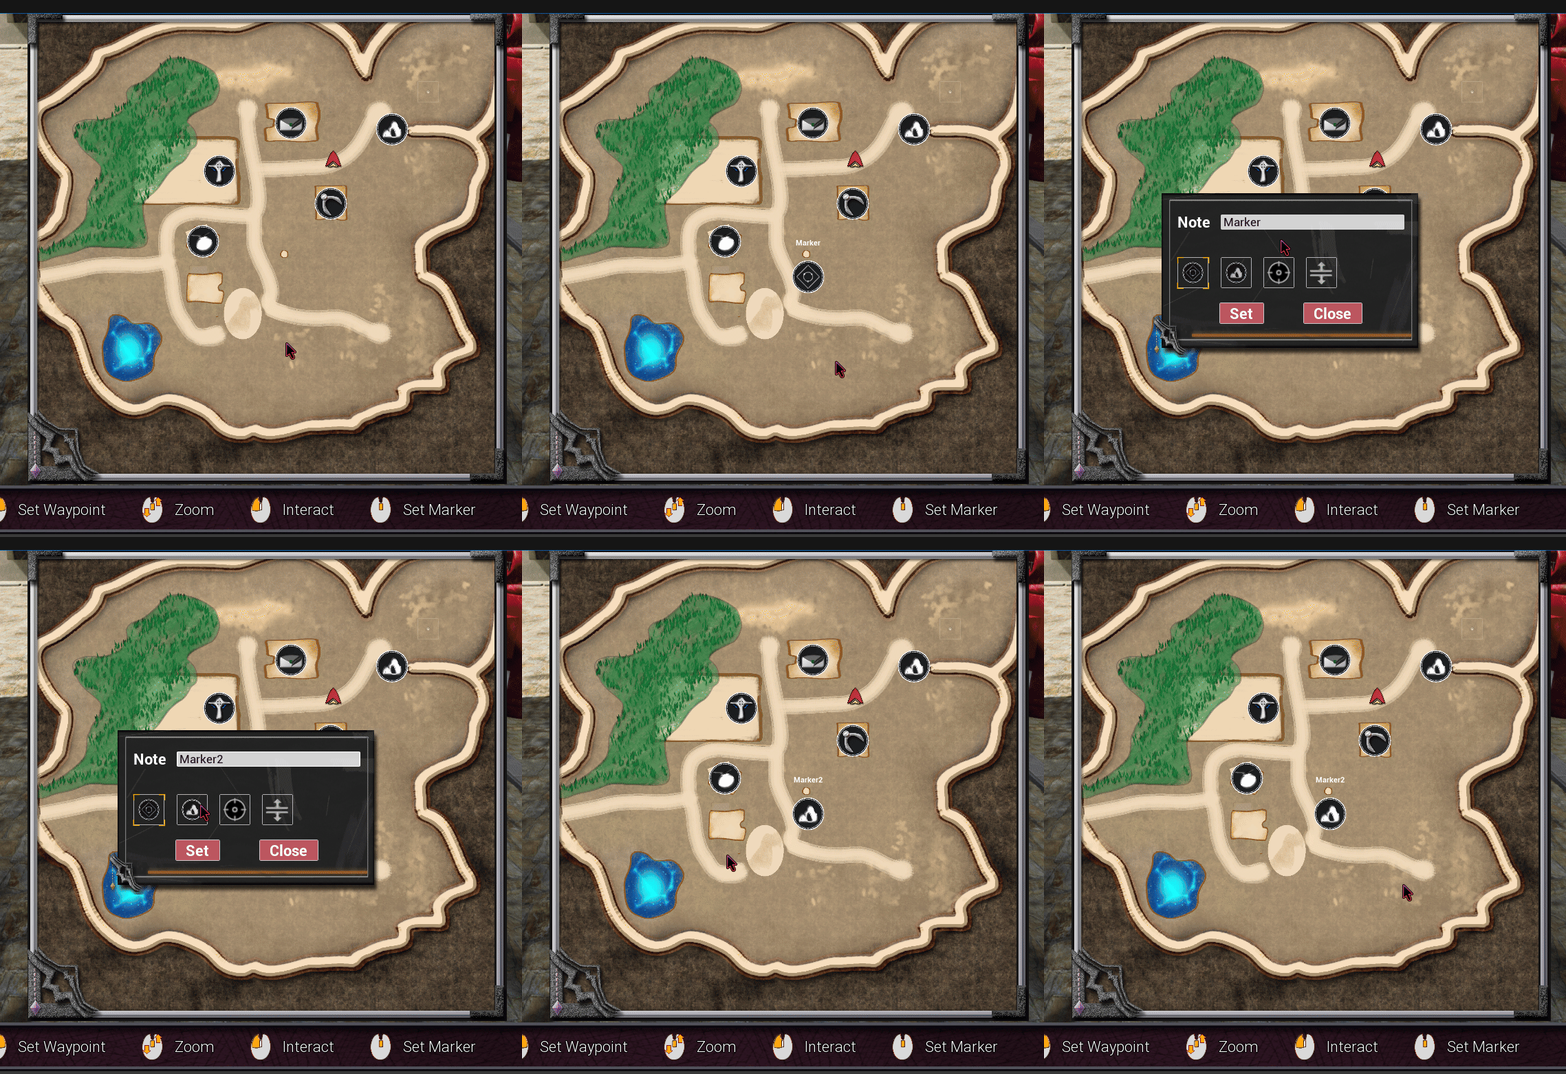
User can add a marker on their world map and apply different icons texture or add a short description. The custom icon will also be shown on the mini map.
Waypoint
Setting a waypoint will indicate the player the distance and direction to take from their mini map.
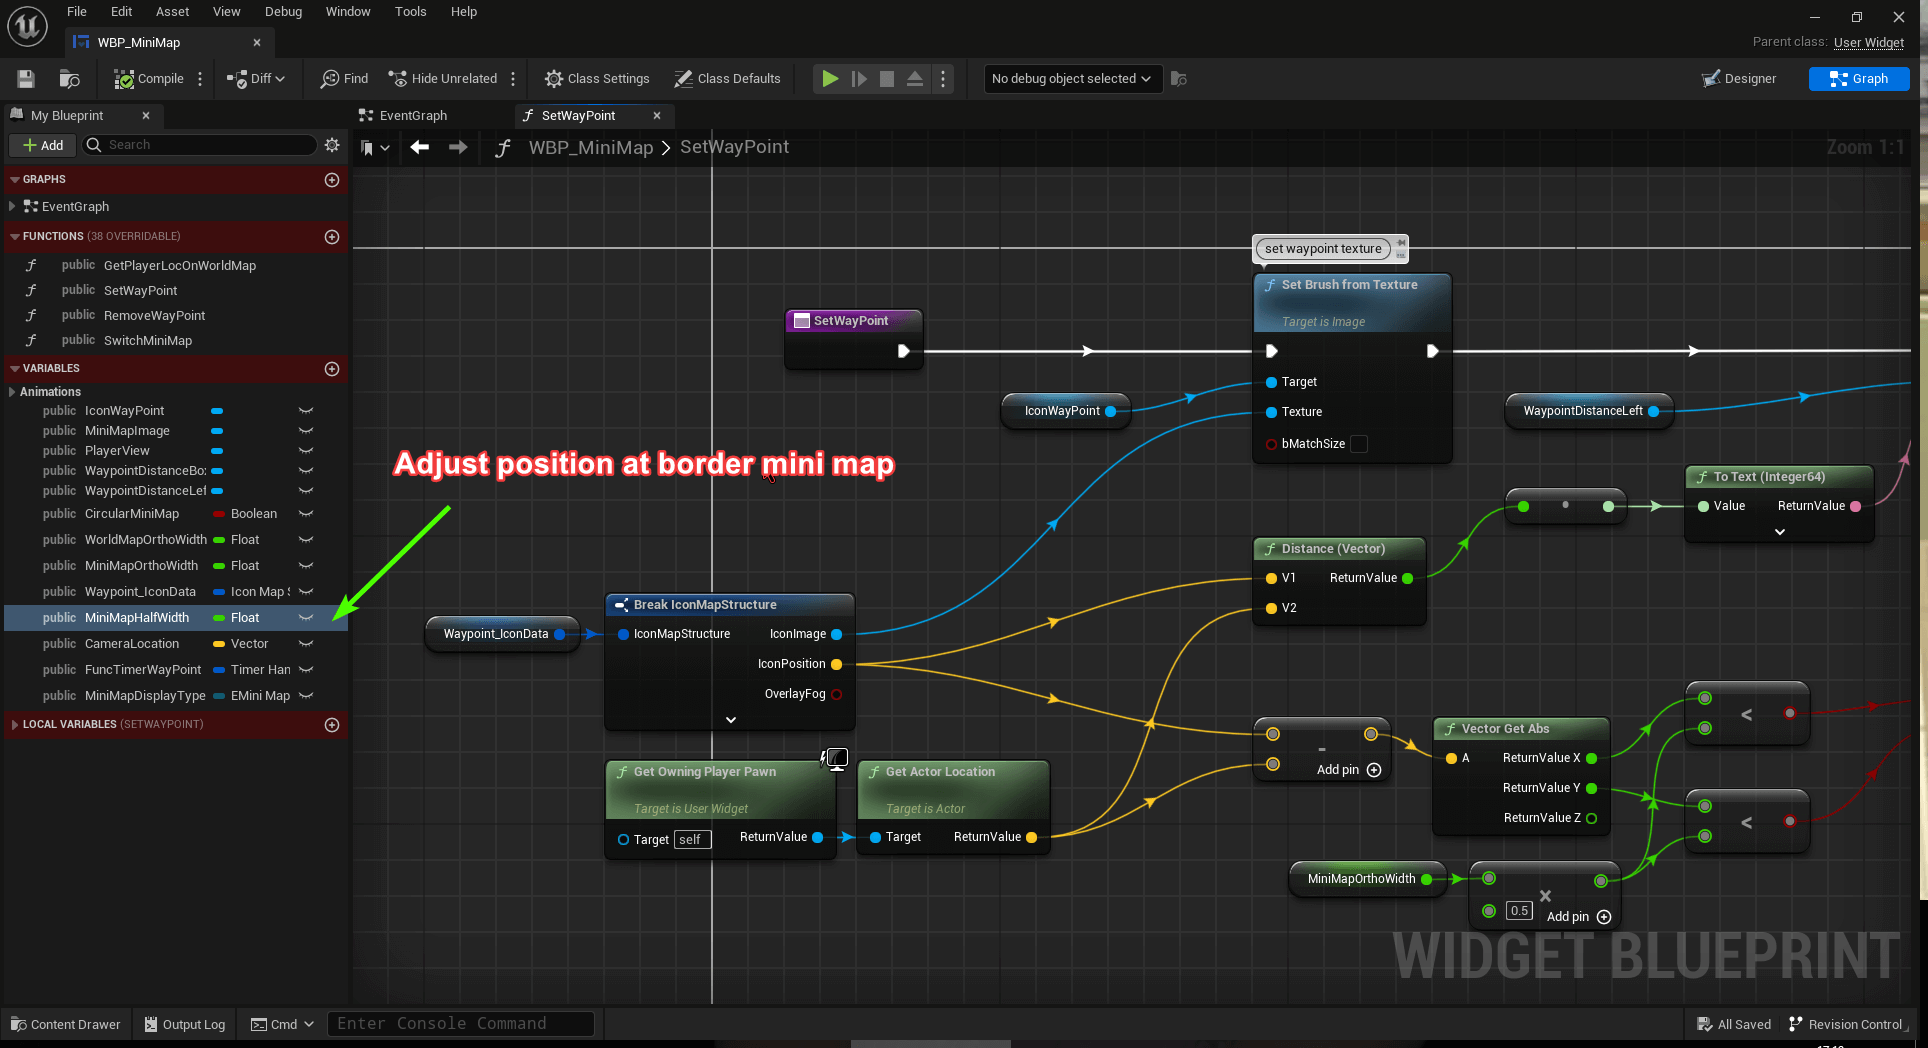
The waypoint will be at the border of the square or circle mini map.
